3D print: Solid
The 3D-printed solid insole, a printed alternative to a milled EVA insole. Select the printer first; the available features depend on the printer.
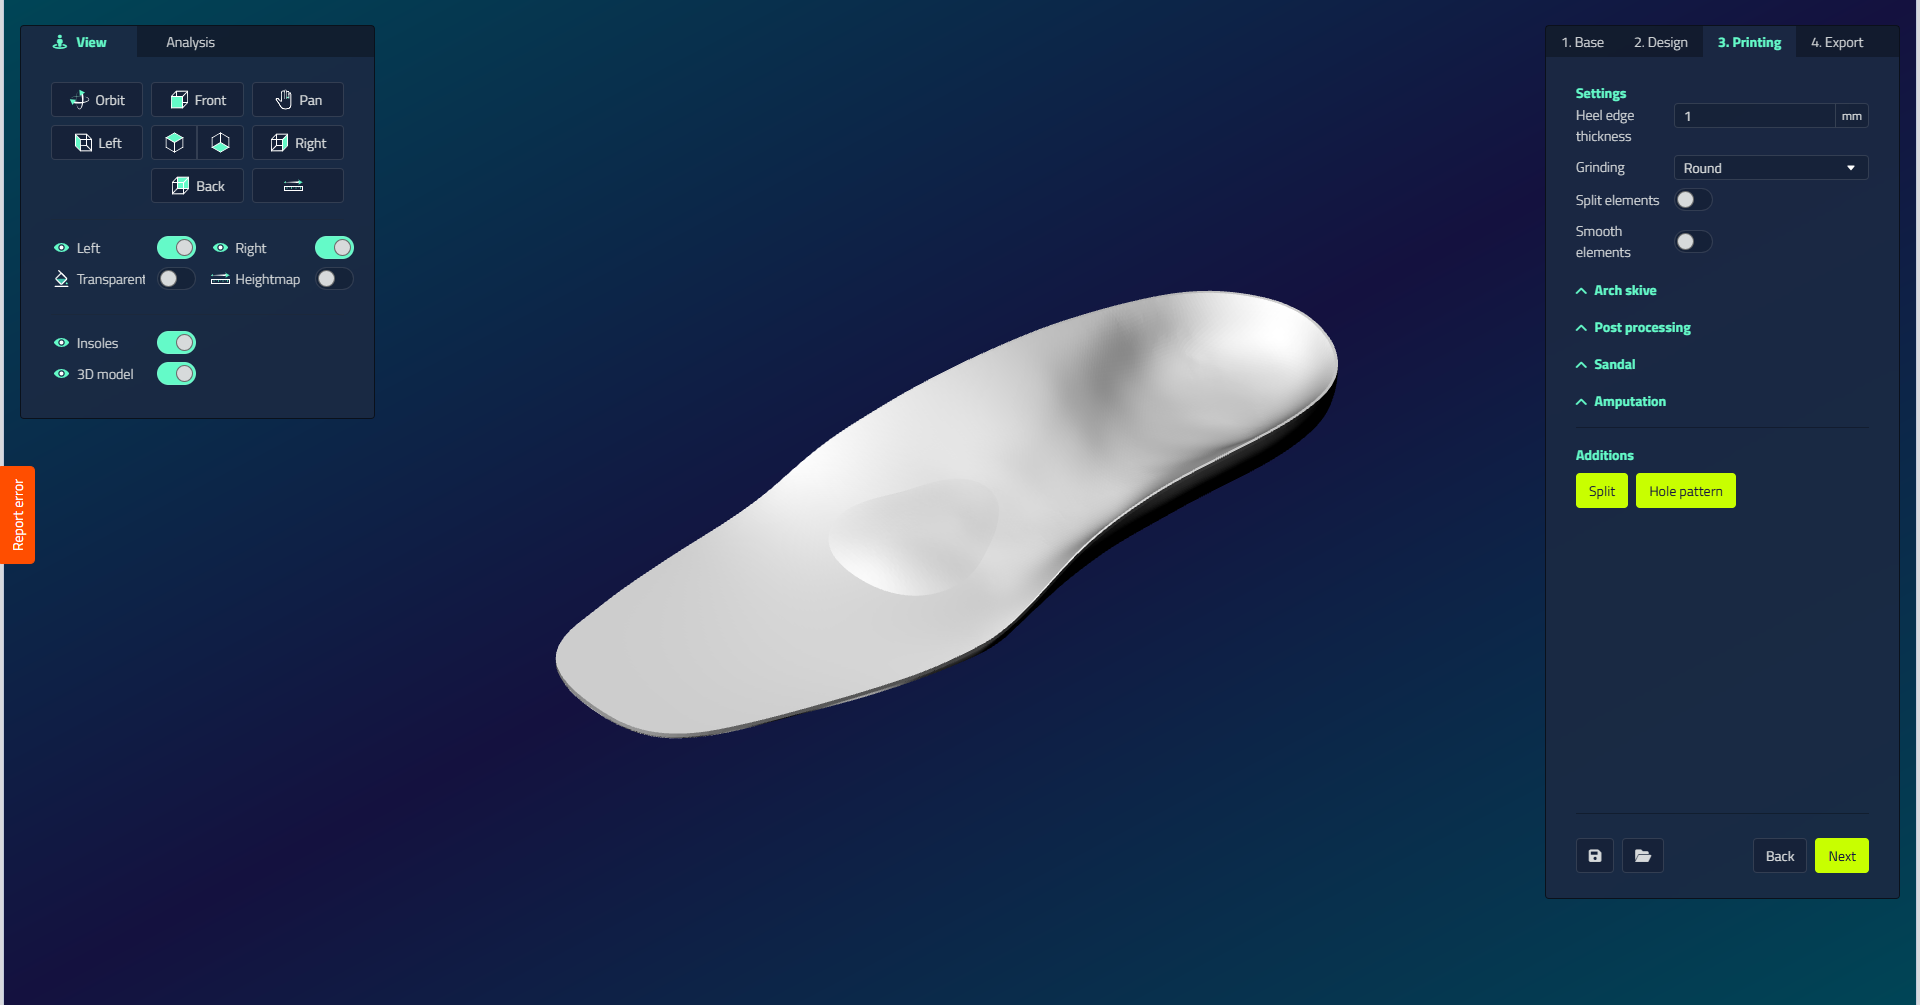
Settings
| Setting | Unit | Function | Visible when |
|---|---|---|---|
| Smooth elements | On/off | Smooths the transitions between elements | Always |
| Heel edge thickness | mm (min 0, step 0.5) | Sets the edge thickness of the insole | Sandal off |
| Grinding | Straight / Round / Hybrid / Vertical | Sets how the bottom is connected to the top | Sandal off |
| Split elements | On/off | Automatically splits the insole at every element (except sinks) to create hardness zones | Always |
Click an element to disable the automatic split for that element. Insole thickness is set on the Design step, not here.
Hardness
Hardness is set per selected printed part, not globally. Select a printed part in the viewport, then choose its hardness with the Shore buttons in its settings panel: Extra soft, Soft, Medium, Hard or Extra hard. Select several parts at once to set them together.
A different hardness per part only works when LutraCAD slices the print directly. If you split the insole into parts and export instead, you get a separate STL file per part.
Arch skive
Removes material under the arch at a specific angle.
| Control | What it does |
|---|---|
| Enabled | Turns the arch skive on. |
| Movement | Moves the arch skive forward or backward. |
| Height | Arch skive height (standard is 5 mm lower than the device top). |
| Length | Arch skive length. |
| Angle | Larger values create more undercut. |
Post processing
| Control | What it does |
|---|---|
| Arch grind depth | Creates a solid region on the medial arch side. When the insole is sliced for printing in LutraCAD, this region stays solid so the arch can be ground down. |
| Trimmable forefoot | Makes the front portion solid so it can be trimmed after the insole is sliced for printing in LutraCAD. |
| Top cover accommodate | Removes a specified amount from the entire device top to accommodate a top cover. |
| Heel Lift | Adds a heel lift. Set the Height (mm). |
Sandal
The Sandal section works exactly as in the EVA step: open-toe mode on full-length insoles, with Edge height, Extra length and Edge thickness.
Amputation
The Amputation section works exactly as in the EVA step: enable a side, set the Height, Fillet inside and Fillet outside, optionally add an Interface Fillet, then click Draw.
Additions
| Button | What it does |
|---|---|
| Split | Draw a curve to create a custom hardness zone. |
| Hole pattern | Perforates the insole with a repeating pattern (see below). |
Hole pattern options
- Through: if enabled, the pattern goes through the device. If disabled, set the Depth (mm) and the Hole side (Bottom or Top) the pattern is created on.
- Hexagon format: hexagon size.
- Hexagon distance: distance between hexagons.
- Distance to edge: distance from the edge where the pattern begins.