3D scans
A 3D scan is scanned directly, imported, or downloaded from the cloud after capture with the iPhone/iPad app.
Adding a 3D scan
Location: Project page → sidebar → 3D scan
The dialog opens directly in single-foot mode, with a Left and a Right panel side by side. There is no upfront "foot type" selector. To import a separate foot scan and imprint scan for each side and merge them into one, see Switching to imprint mode below.
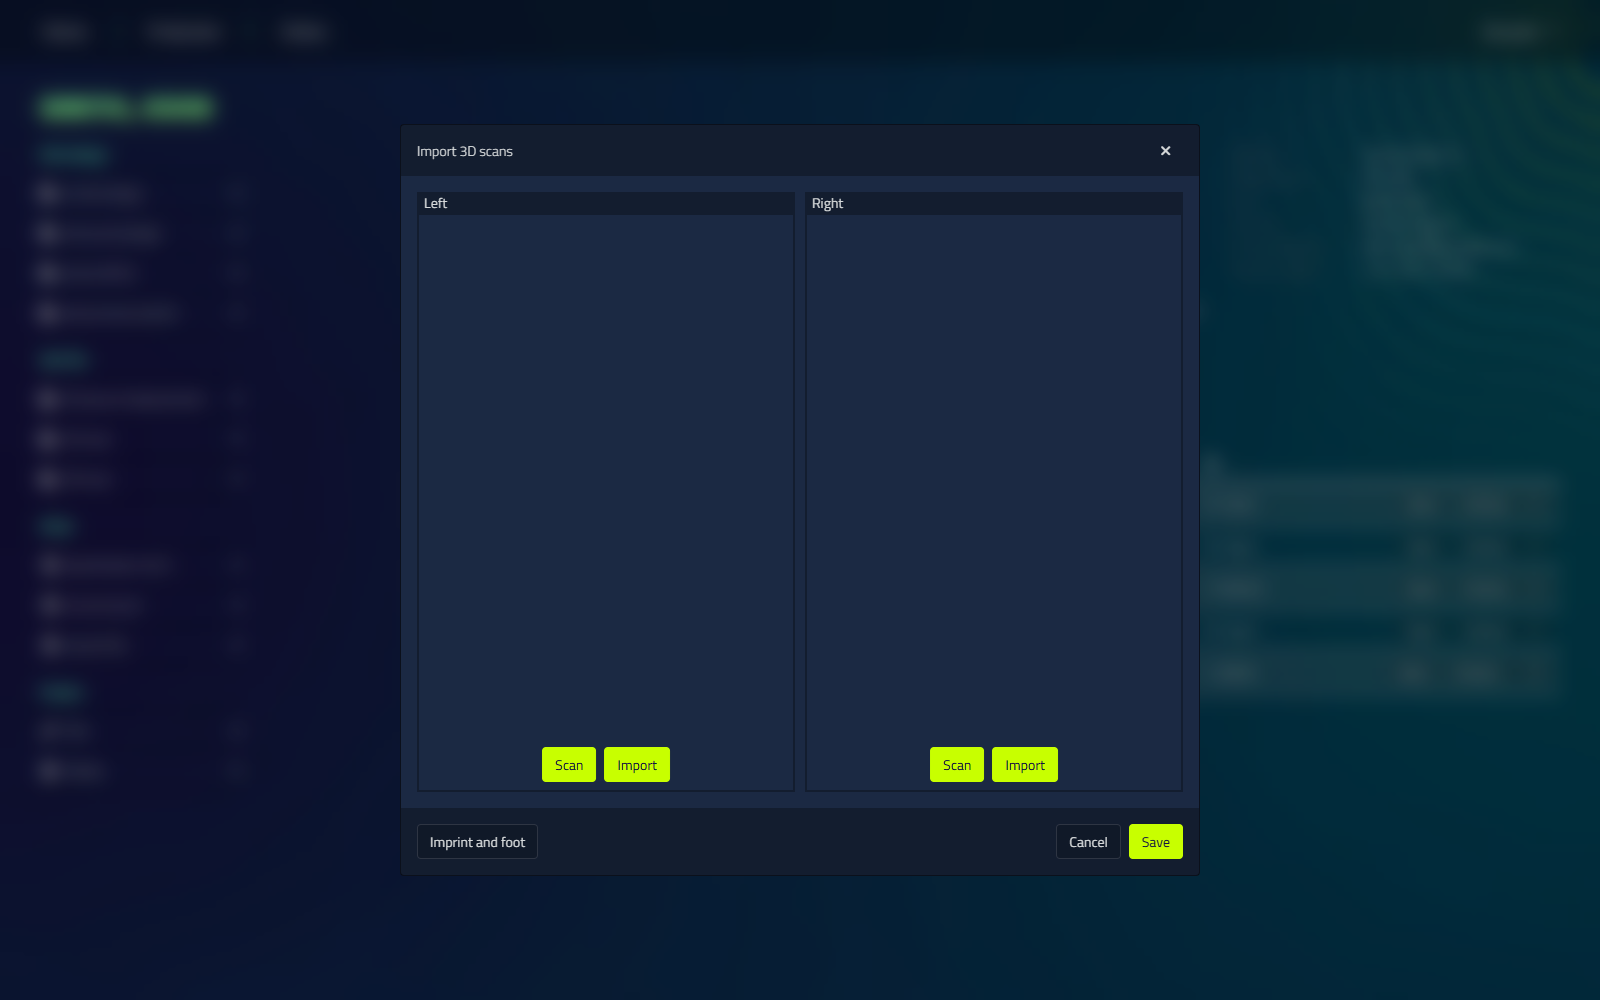
Scan directly
Each panel has a Scan button that triggers the scanner for that foot. It's disabled when no 3D scanner is configured in settings.
If a supported foot pedal is connected, a Pedal radio option appears next to each side. Select which foot the pedal should scan next (the selected panel is highlighted while active), then press the physical pedal to scan it.
You can change the scanner via the 3D scanner setting in Settings → Basic.
Import from file
Each panel has an Import button that selects a 3D file for that side.
| Format | Handling |
|---|---|
.stl, .obj, .wrl | Used directly. |
.xyz, .ply, .off, .las, .nc, .cad | Converted to .stl automatically. |
Switching to imprint mode
A button in the dialog's footer toggles the whole dialog between single-foot mode and imprint mode:
- In single-foot mode, the button reads Imprint and foot. Clicking it switches to imprint mode.
- In imprint mode, the Scan buttons disappear (imprint mode is import-only) and a second row of Import imprint buttons appears. Each side now loads two scans: the foot in the imprint through the top Import button, and the imprint itself through Import imprint. You merge the two into one 3D scan afterwards.
- In imprint mode, the same footer button instead reads Single scan and switches back.
See combining foot and imprint scans for merging these into a single 3D scan.
Preview and save
A 3D render appears in each panel after scanning or importing. Rotate and zoom with the mouse. Save stores the scans on the project.
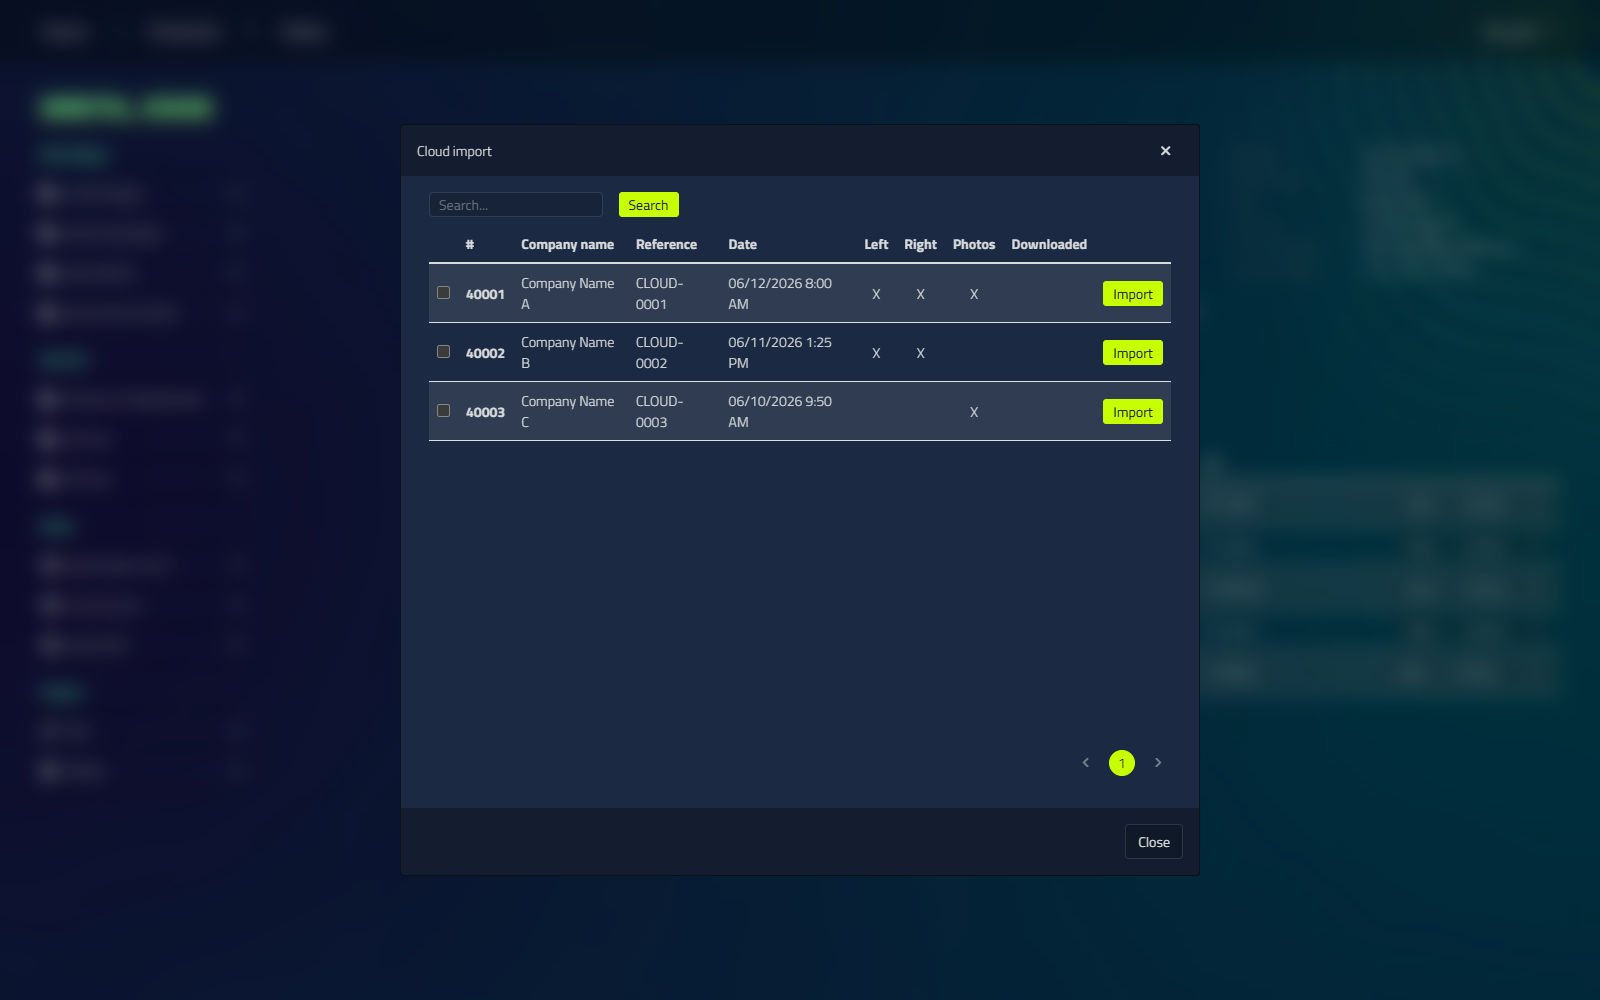
Cloud import
Imports data captured with the LutraCAD iPhone and iPad app or the LXScanner application. This includes:
- 3D scans
- Photos taken with the device
- The specification form
Viewing a 3D scan
| Button | What it does |
|---|---|
| Swap left and right (icon button) | Swap the left and right scans. |
| Export | Save the scan as .stl. A dialog then offers Open directory to browse to the file. |
| Repair (one per side) | Open the repair tools on that foot's scan. |