2. Correct
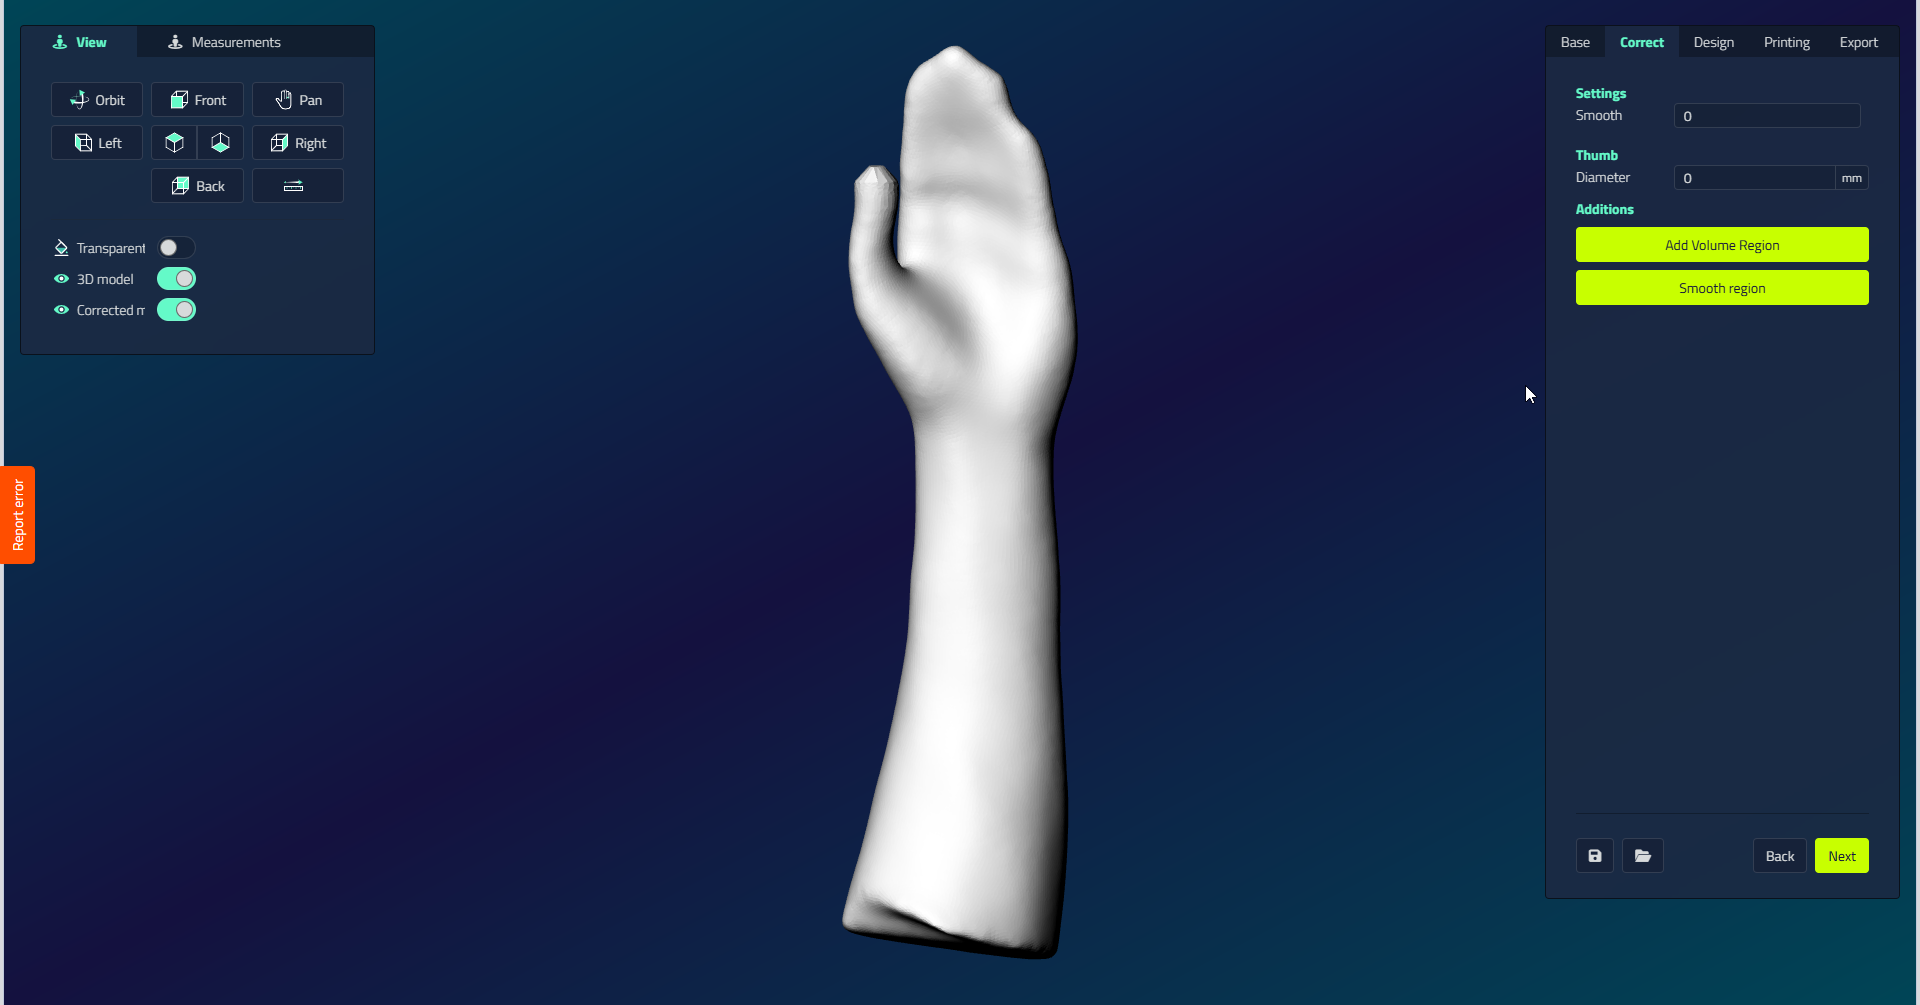
Open the Correct step to shape the splint to the patient. Add each correction from the correction group, then adjust its value in the settings panel on the right. The model recalculates immediately, and every correction is saved in the History so you can uncheck it to revert.
| Correction | What it does |
|---|---|
| Thumb → Diameter | Set the diameter of the thumb tube. |
| Smooth | Smooth the whole surface. |
| Add Volume Region | Draw a point, curve, or area, then push or pull it to add or relieve volume locally. |
| Smooth region | Smooth a drawn area only. |
Hand splint actions
Selecting the splint model gives these buttons in the Action panel:
| Button | What it does |
|---|---|
| Rotate | Rotate the splint. |
| Box | Opens an editable cage with size presets (Small to Extra extra large) to reshape the splint. |
| Brush smooth | Drag the brush across the surface to smooth it. |
| Brush pull | Drag the brush to pull (bulge) the surface. |
| Brush push | Drag the brush to push (indent) the surface. |
Selecting the 3D scan instead offers Rotate and Box.
For how each action works, see Tools and actions.