Mounting the bracket
This page describes the Structure Sensor 3 and comes from the manufacturer, Structure (Occipital): structure.io. The text and the images are theirs, reproduced here so the setup and the app guide sit in one place. If structure.io and this page differ, they are right.
Needed only for the Structure Sensor workflow. Scanning with the FaceID Camera needs no bracket, no cable, no charging and no calibration.
Which bracket you use depends on your iPad. Structure lists every supported iPad and the bracket it needs: Structure Sensor 3: Which iPads can I use?.
Compression bracket
For newer iPads.
-
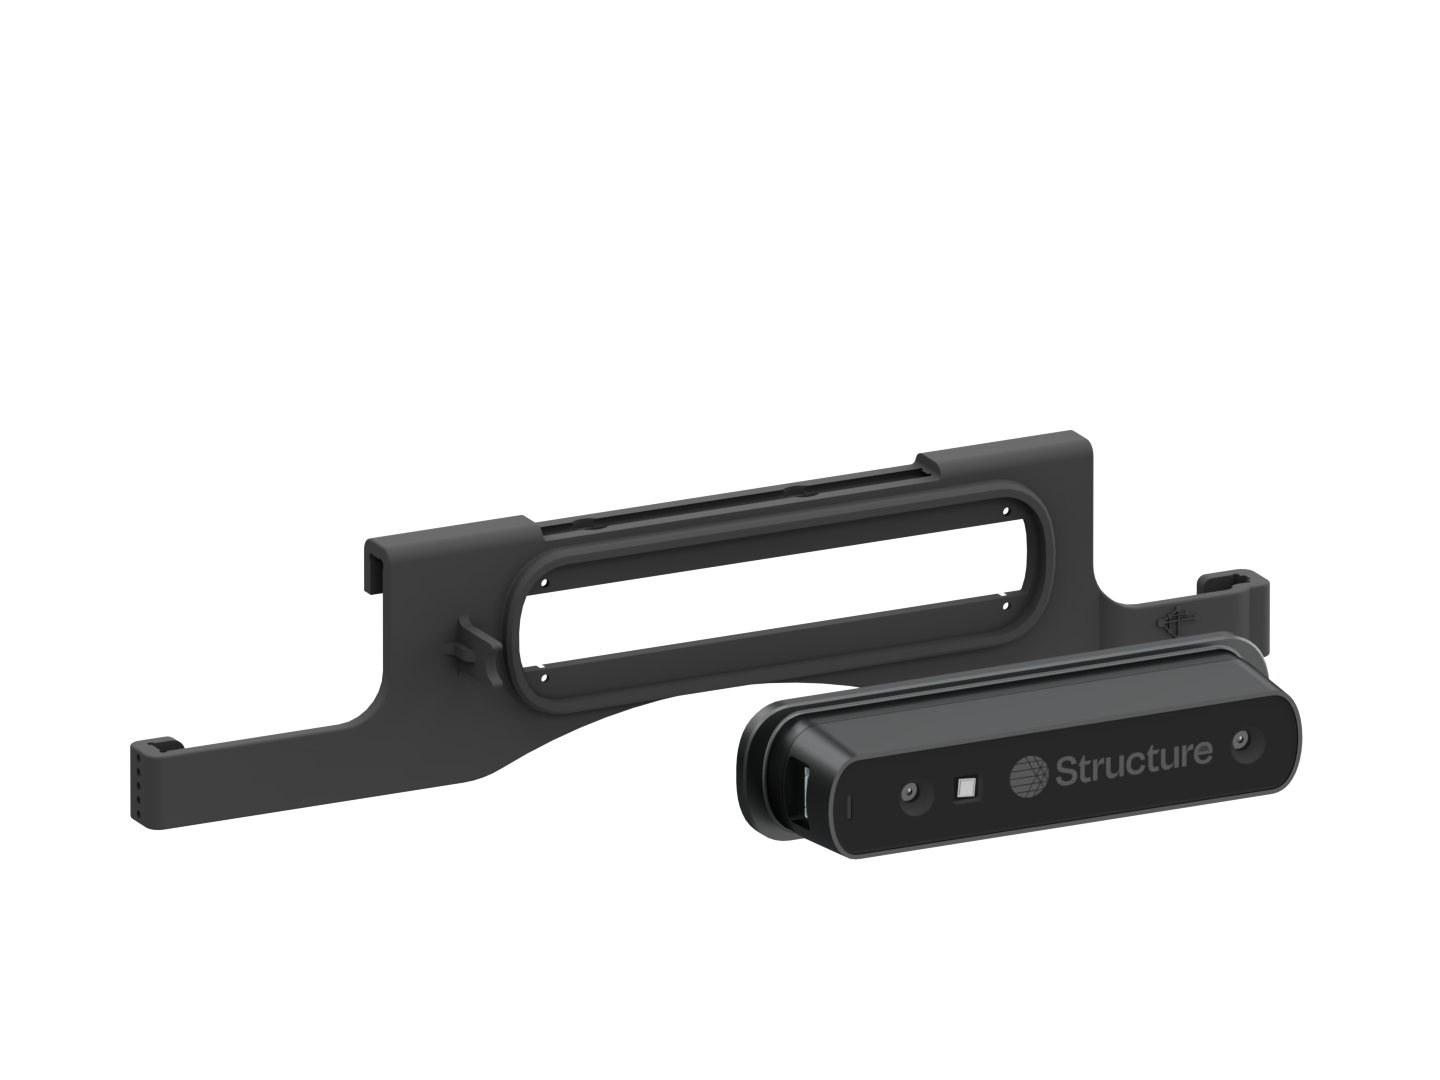
Attach the sensor to the bracket with the supplied screws and screwdriver.
 warning
Only use the screws that came with your sensor.
-
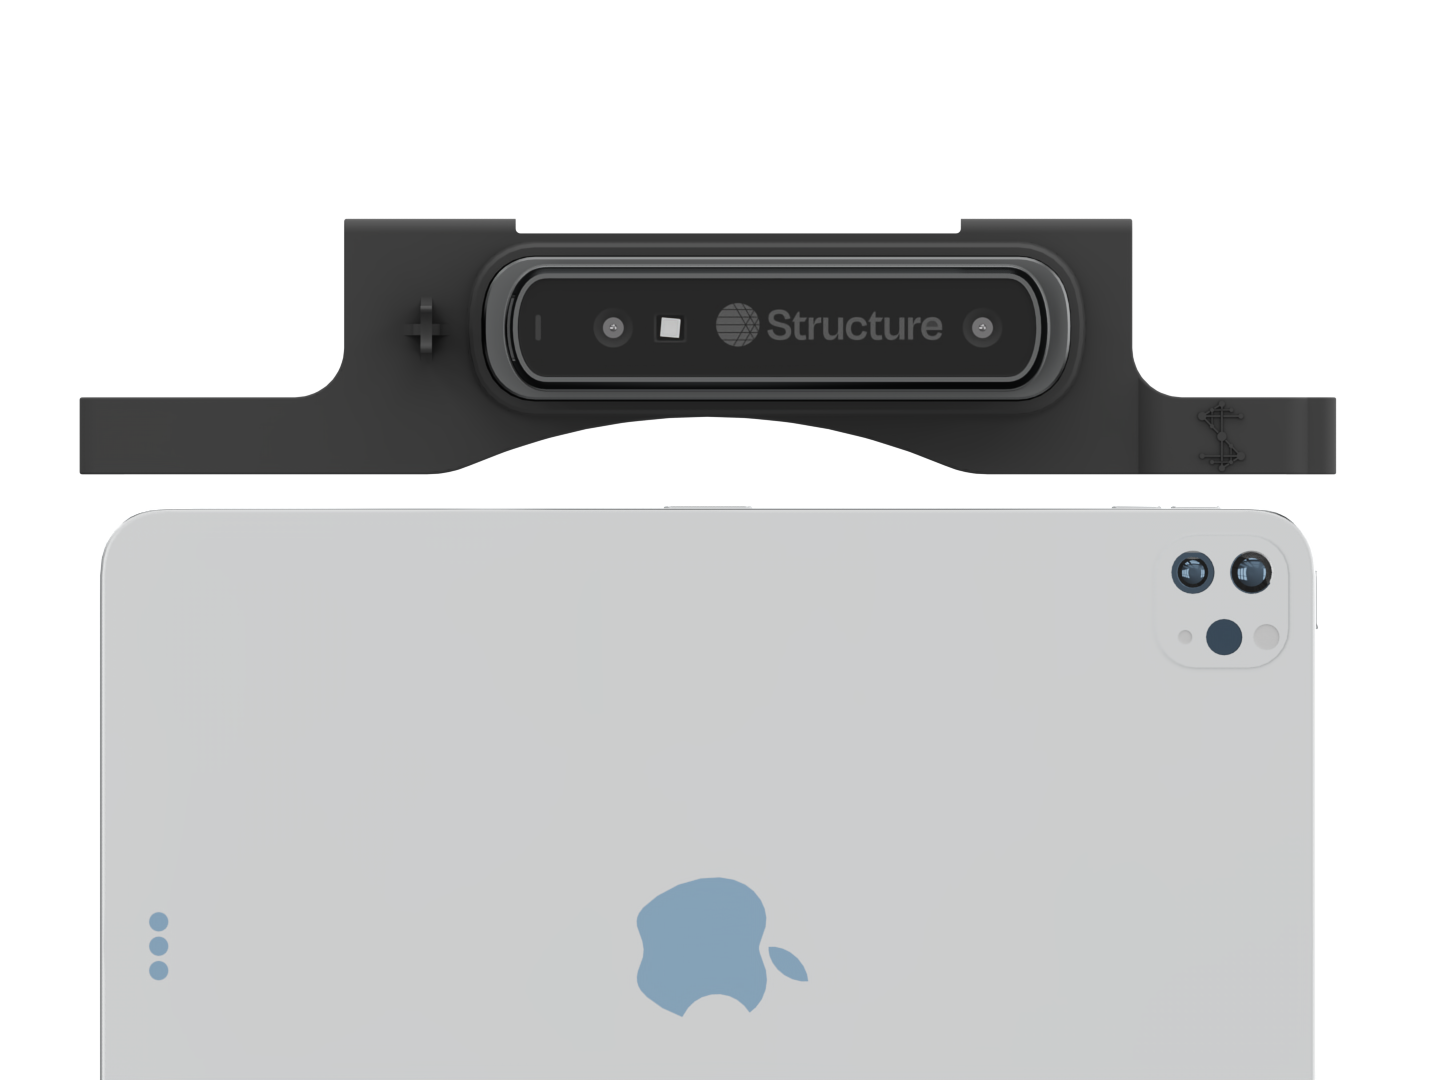
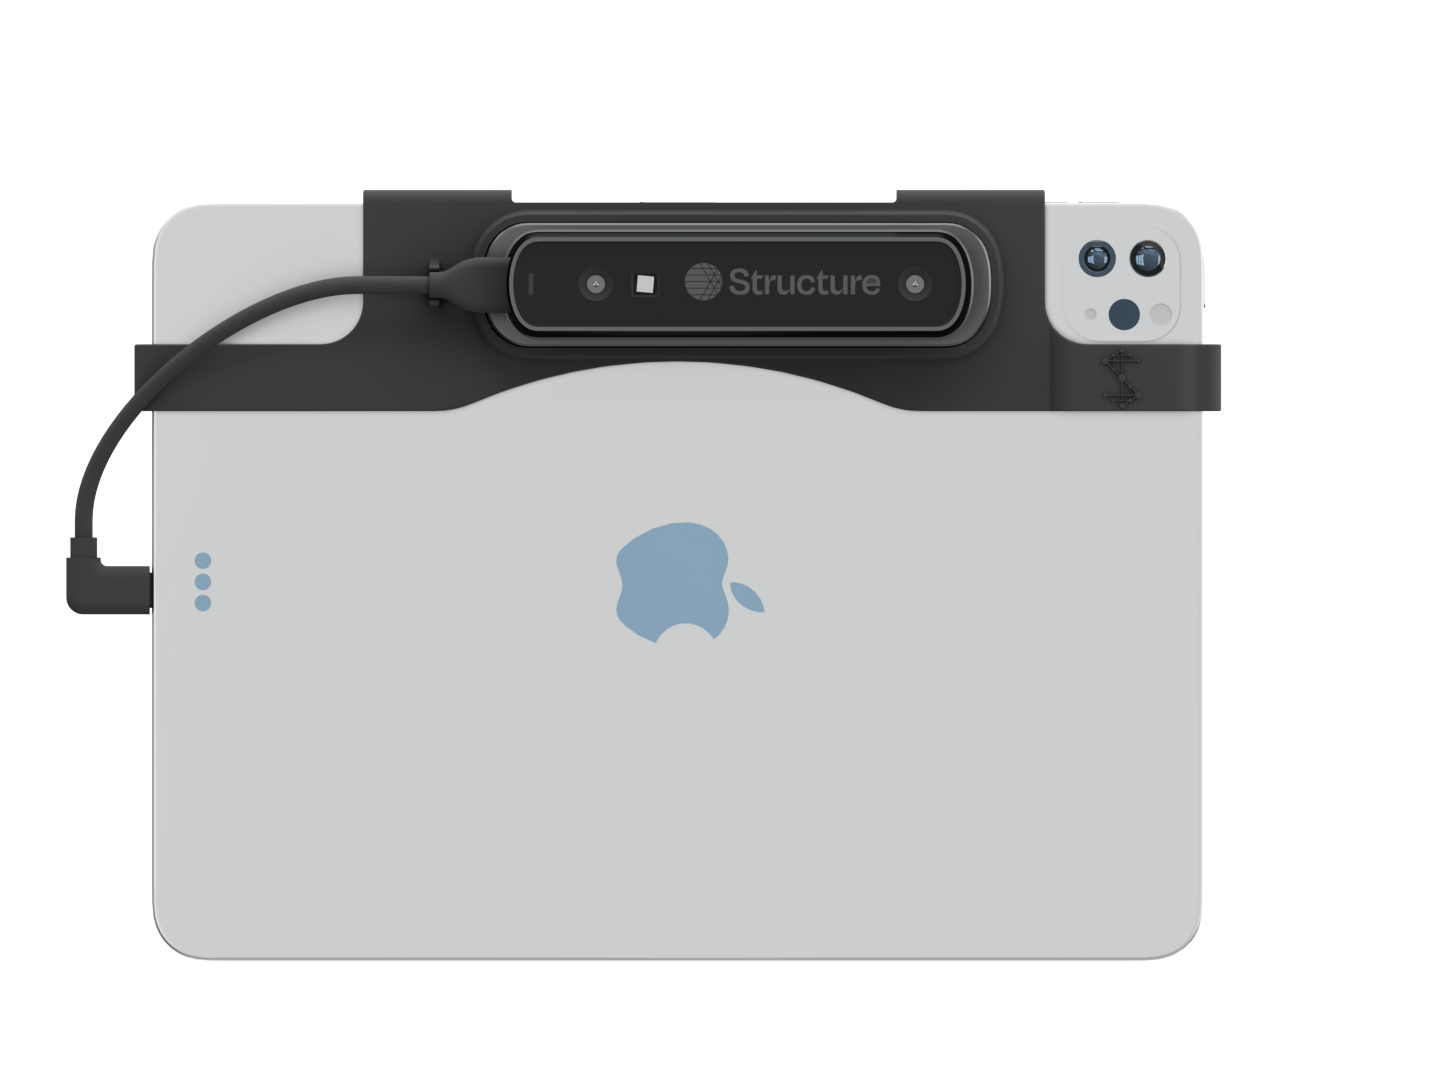
Slide the bracket down on both sides of the iPad until it is fully seated at all points.
 note
noteIt's important to make sure the bracket is fully seated as shown.
-
Connect the sensor to the iPad.
- Confirm the iPad has no screen protector or case, otherwise the bracket may not fit and you may damage the iPad, sensor or bracket.
- Inspect the charging port for debris.
- Plug the USB-C or Lightning cable into the sensor, in the orientation shown.
- Plug the other end into the iPad.
Precision bracket
For iPad (9th gen) only.
-
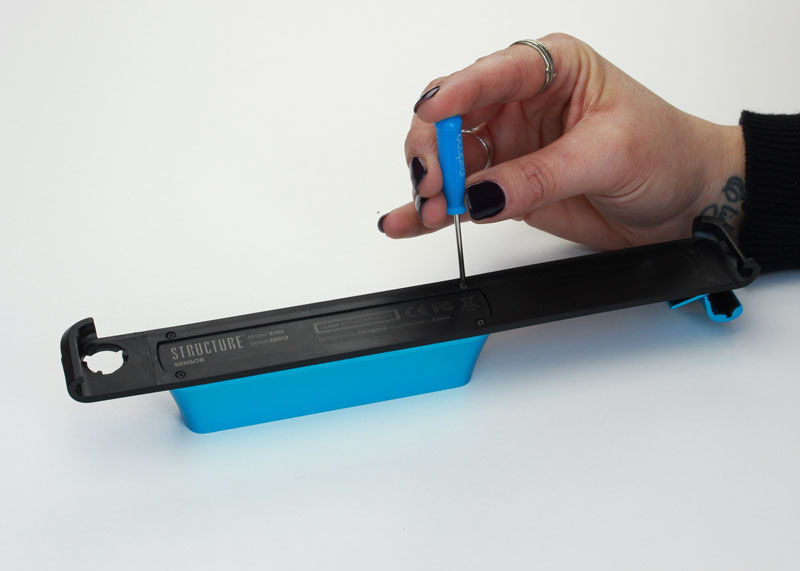
Attach the sensor to the bracket with the supplied screws and screwdriver.
 warning
Only use the screws that came with your sensor.
-
Starting with the clasp open, slide the bracket down on both sides of the iPad until it is fully seated at all points. Then close the clasp.
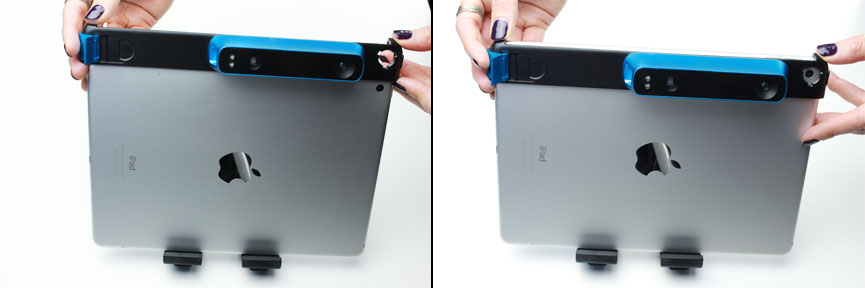 note
noteIt's important to make sure the bracket is fully seated as shown.
-
Connect the sensor to the iPad.
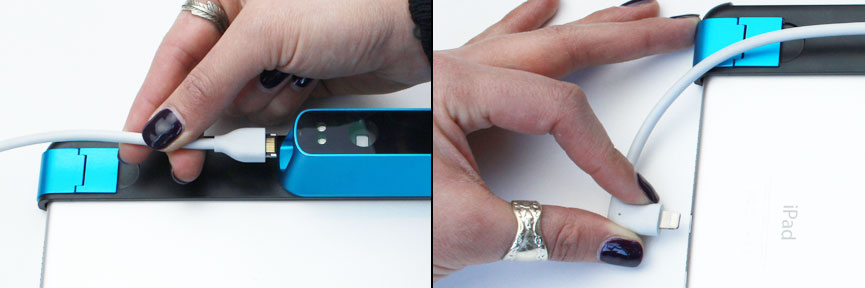
- Confirm the iPad has no screen protector or case, otherwise the bracket may not fit and you may damage the iPad, sensor or bracket.
- Inspect the charging port for debris.
- Plug the USB-C or Lightning cable into the sensor, in the orientation shown.
- Plug the other end into the iPad.