Backup & Restore
Manager lets you create local backups of your database, restore them, and move your data to another system. This page covers creating and restoring backups, sending them to an offsite server, and migrating from LutraCAD V2.
How to Create a Backup
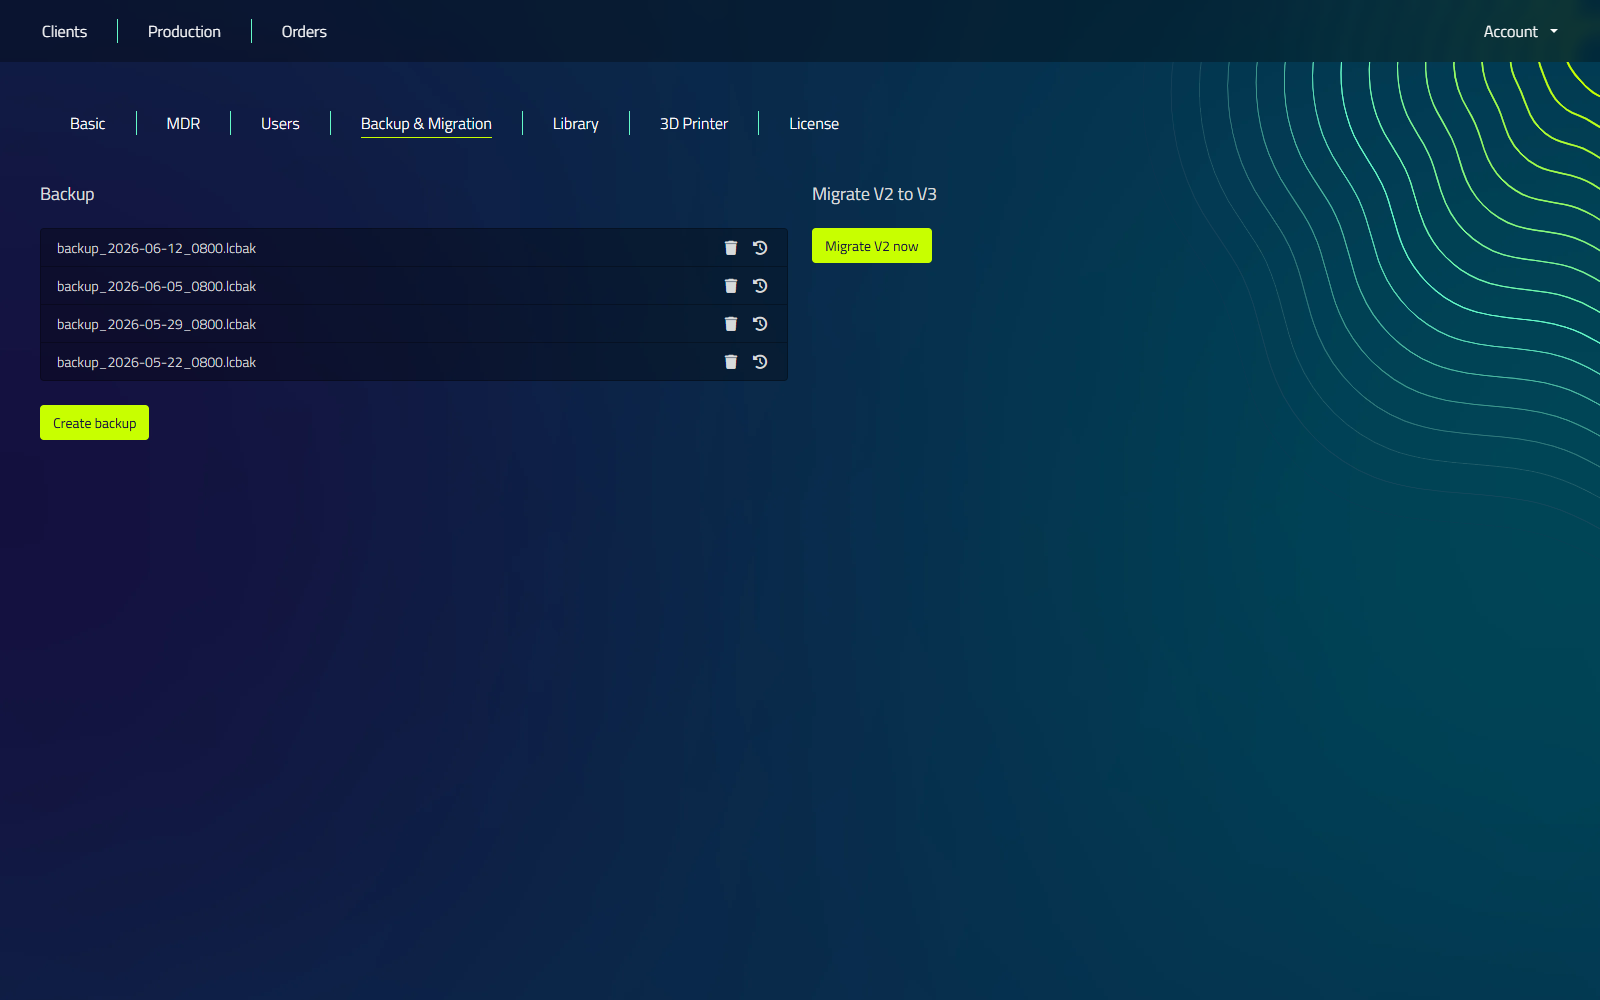
- Go to the "Backup & Migration" tab in "Settings"
- Click the Create backup button. The backup is added to the backup list.
Each backup in the list has its own Restore and Delete buttons, and Open folder opens the folder that holds the local backups.
Creating a backup is a multi-step process that can take several minutes. A dialog tracks progress while it runs.
How to Restore a Backup
- Go to the "Backup & Migration" tab in "Settings"
- Click the Restore button behind the backup you want to restore
- Confirm the warning to continue
How to Move Your Database to a New System
- On the old system:
- Follow the steps of "How to Create a Backup"
- On the new system:
- Follow the steps of "How to Restore a Backup"
Ensure that you have properly installed and configured LutraCAD on the new system before attempting to restore the backup.
Remote (offsite) Backup
Manager can also send backups to an offsite FTP server, so you keep a copy outside your workstation. Backups are transferred using encrypted FTP (explicit TLS on port 21). The server automatically keeps only the 2 most recent backups, deleting the oldest each time a new one is uploaded.
Configuring remote backup
- Go to the "Backup & Migration" tab in "Settings"
- Tick Enabled
- Fill in the connection details:
| Setting | What to enter |
|---|---|
| Server address | The FTP server IP address |
| Username | The FTP login username |
| Password | The FTP password |
- Click Save
On save, the connection is tested automatically. If the connection fails, the settings are rolled back so nothing is saved.
Once remote backup is configured, creating a local backup prompts you with Upload backup online? (click Yes to upload it), and each backup in the list gains an Upload to remote button.
Restoring from a remote backup
- Go to the "Backup & Migration" tab in "Settings"
- In the remote files section, click Download remote on the backup you need to fetch it to your local backup list
- Click Restore behind the downloaded backup and confirm
Each backup in the remote files section also has a Delete remote button, which removes that backup from the offsite server (it stays in your local backup list unless you delete it there separately).
Restoring a backup permanently replaces ALL current data. This cannot be undone.
Migrating from LutraCAD V2
If you are moving from LutraCAD V2 to V3, you can import your existing V2 data directly. The migration is run from the "Backup & Migration" tab.
- Go to the "Backup & Migration" tab in "Settings"
- Step 1: Click Select folder and navigate to your V2 database folder
- Step 2: Enter the default insole thickness in mm, which is applied to all migrated insoles
- Click Migrate now
Progress is shown while the migration runs. On completion, your clients, projects, client numbers, and scan references are carried over from V2.